ReqEdit Server Installation Guide
2 min read
last updated: 03/30/2023
ReqEdit Server requires Windows Server 2019 / 2022 IIS 10 with PHP8
Note: The server is not optimised for mobile screens.
Installation overview
- Install IIS 10
- Install PHP 8 x64 into IIS
- use Web Platform Installer
- Install PHP 8 x64
- Install Run PHP Helper
- use Web Platform Installer
- Extract the server package into the inetpub folder (or any other site location used by IIS)
- Create new site in IIS
- Set content directory to extracted folder/public folder
- Choose HTTPS
- Add Hostname (already configured in DNS server)
- Select certificate
- Check Start server option
- Save the site configuration
- Open the hostname in browser
- ReqEdit Server diagnostic page should be visible, if not then check if php is running correctly on the server
Setup ReqEdit Server
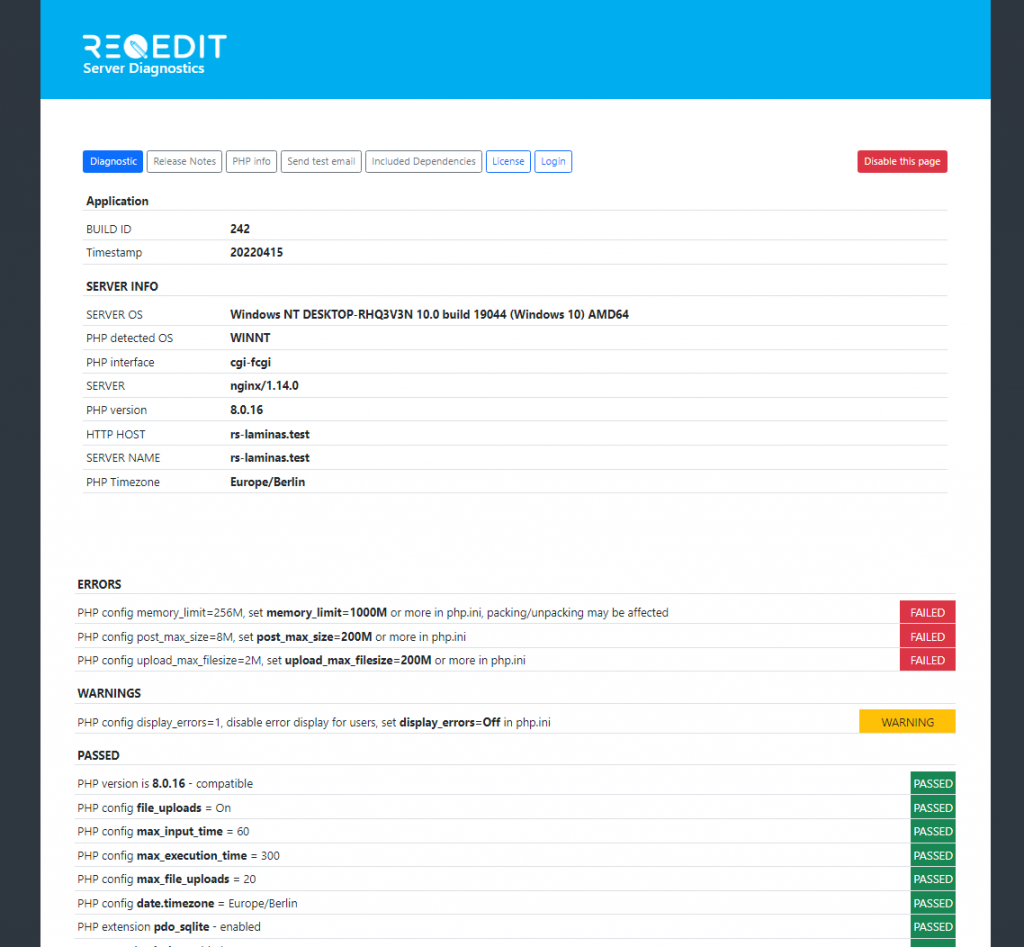
Diagnostic page displays information about the current host configuration and lists current configuration problems and warnings. The errors are marked with red and should be fixed before using the server application.
Note: PHP Timezone should be Europe/Berlin (timezone should be similar to the users timezone)
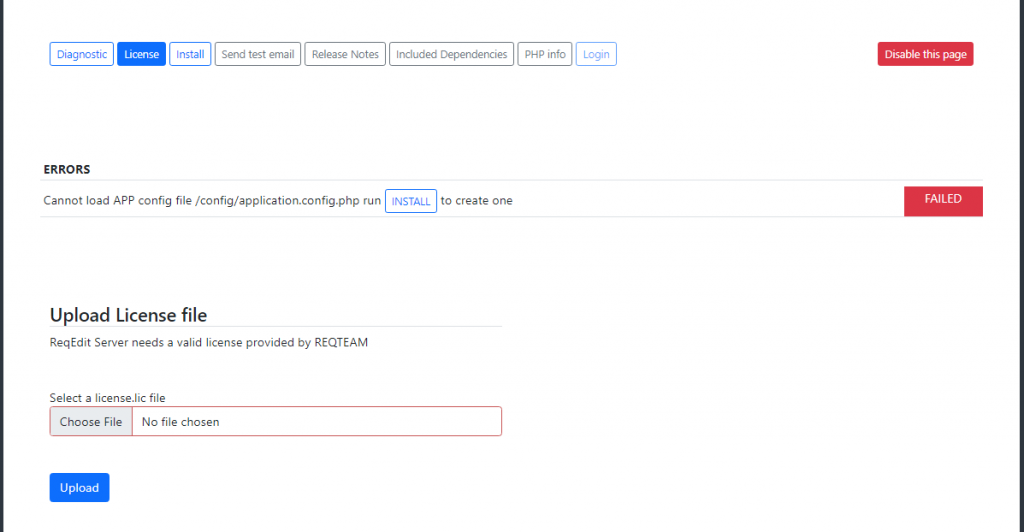
License
Each server application needs a license file in order to work. The license file is provided by REQTEAM and can be assigned easily to the instance.
Hostname and mail server setup
The main configuration page will let the user test the email sending capability. Then after successful email test press SAVE CONFIG.
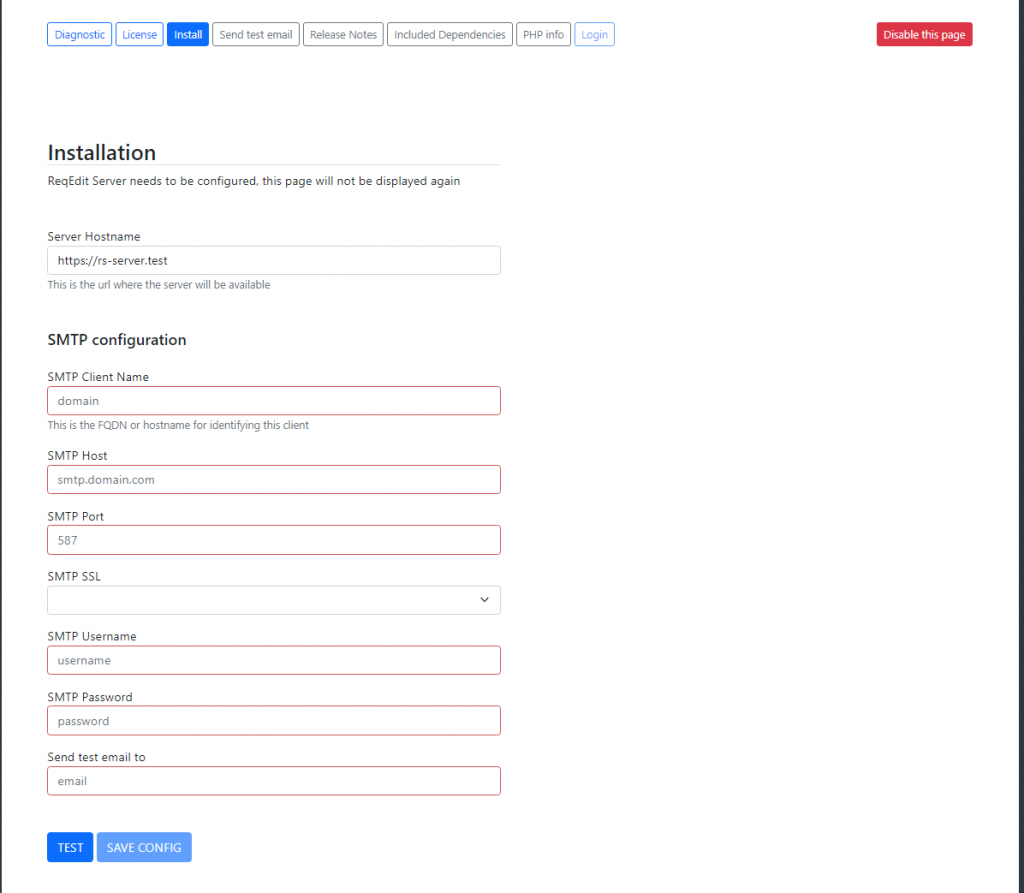
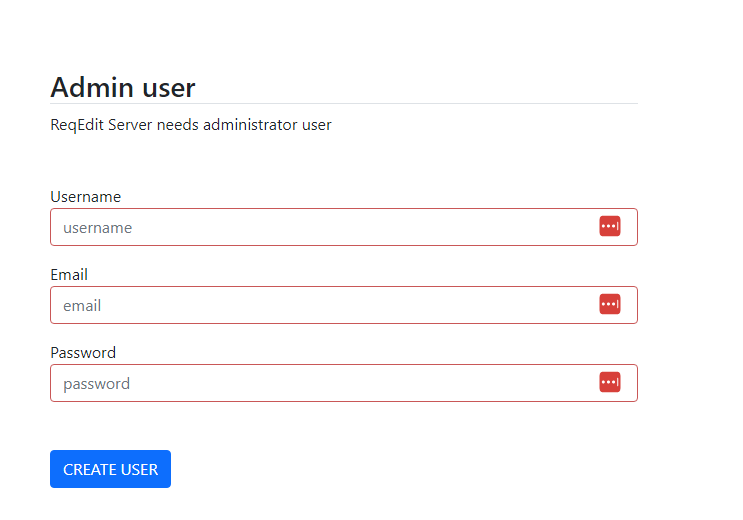
On the next page the initial admin user has to be configured
Open Diagnostic page again to check for any other application config issues. If there are no more Failed tests you can access the Login page. This will open the main application homepage.
Diagnostic page
The diagnostic page can be easily disabled by accessing hostname/?diag then pressing the Disable this page button

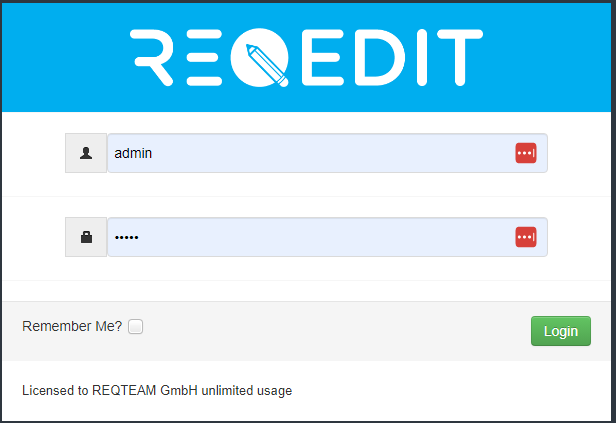
Login
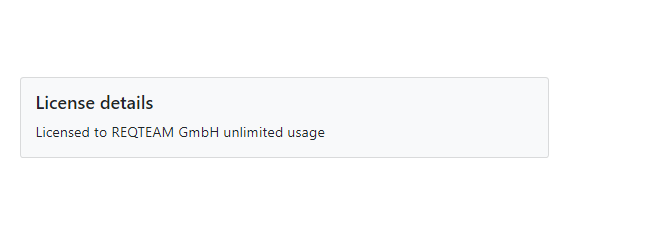
After successful setup the login page is visible displaying the license info as well.
The ReqEdit Server user guide offers a more in depth look at the available capabilities.