ReqEdit Interop Server Installation Guide
2 min read
last updated: 03/13/2023
Interop server requires Windows Server 2019 / 2022 IIS 10
Installation overview
- Install all windows updates
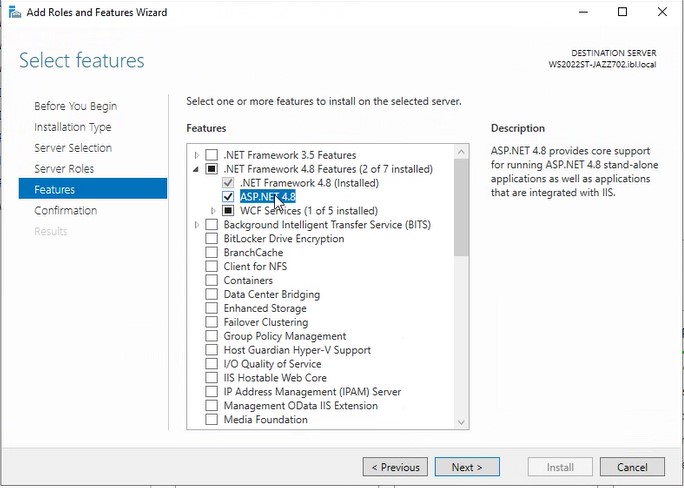
- Install .NET 4.5 runtime and update to .NET 4.8
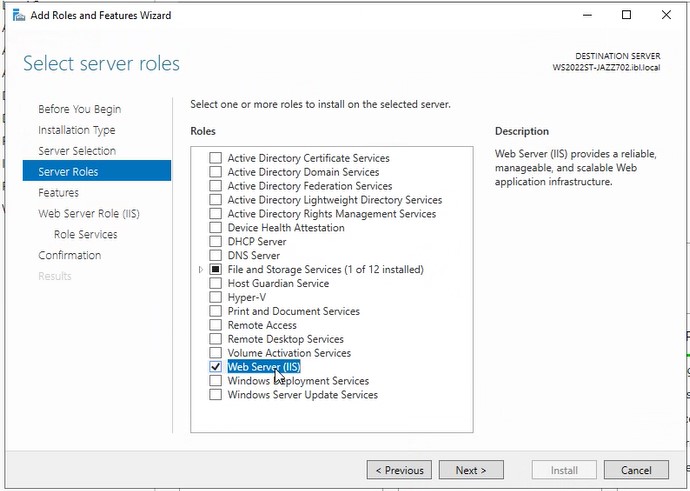
- Install IIS and configure application
- Install SFTP with OpenSSH-Win64 – optional
- Install ReqEdit
- Install RoboTask
Configure IIS features

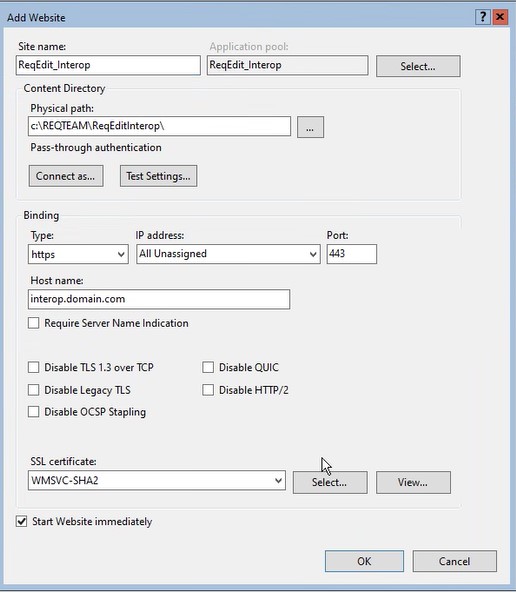
Create new site in IIS
- Add new site
- Set content directory to extracted folder folder
- Choose HTTPS
- Add Hostname (already configured in DNS server)
- Select certificate
- Save the site configuration
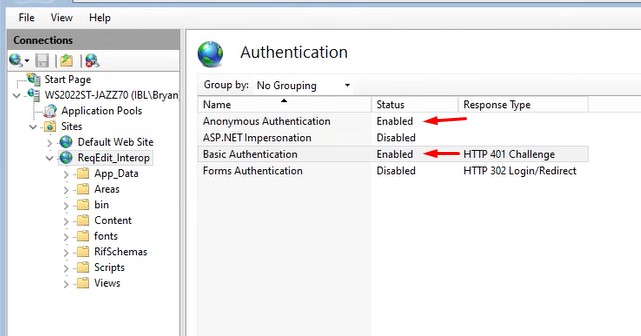
- Authentication
- Anonymus Authentication: Enable
- Basic Authentication: Enable
Configure SMTP – optional
This feature is currently under development, may be used in the future.
ReqEdit InterOp can send email notifications on certain automated actions.
Open the C:\REQTEAM\ReqEditInterop\Web.config file and at the end add the SMTP credentials
Install ReqEdit
Download the ReqEdit and activate the license
Install RoboTask
Download and install Robotask and optionally activate with license key
Robotask offers evaluation period.
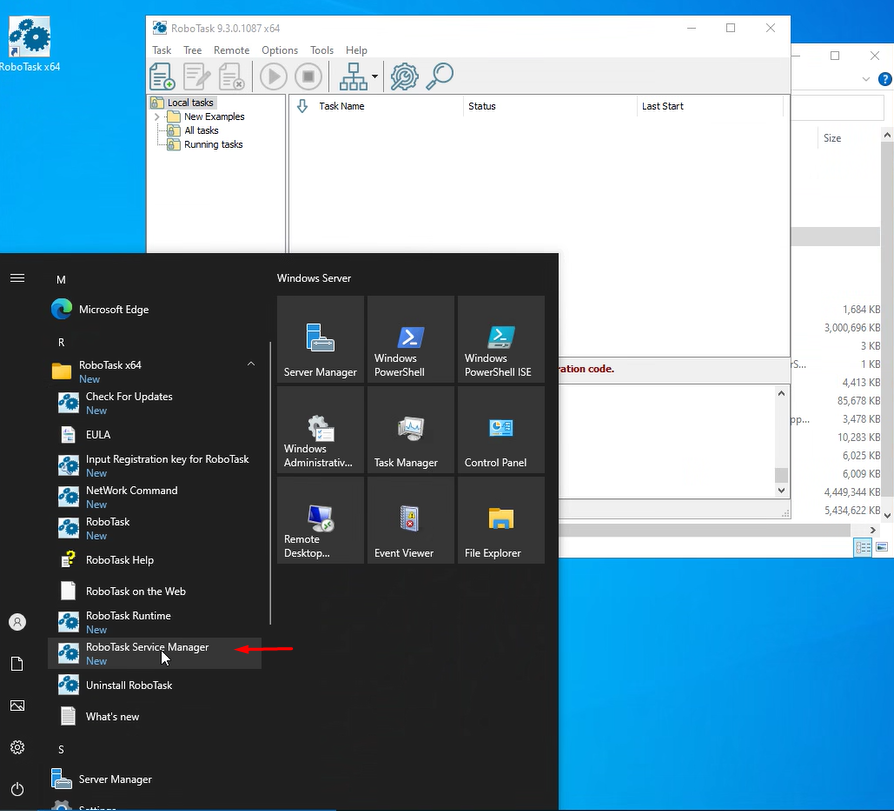
Install as a service
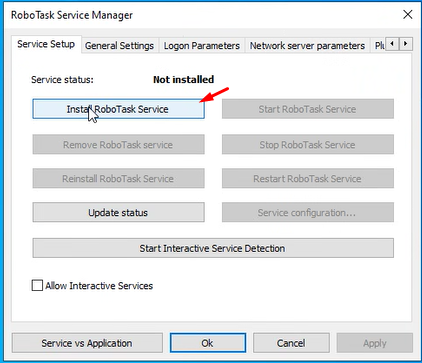
- Start Service Manager
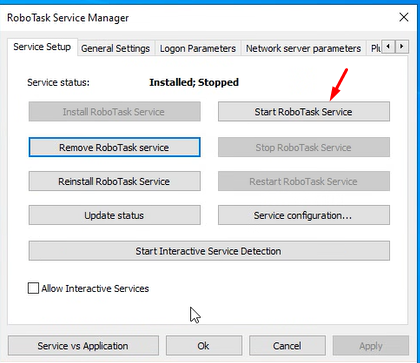
- Install and Activate Robotask service
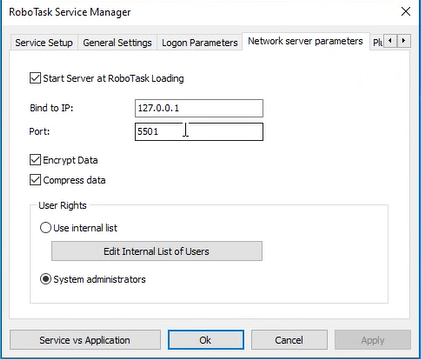
- Setup network access
- Connect to the service instance
Import Interop Task
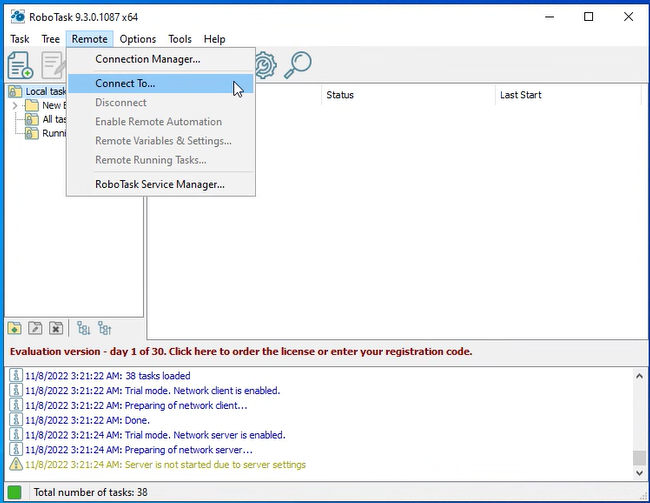
- Run Robotask App from desktop
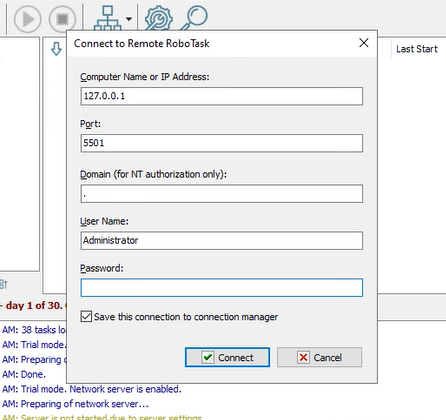
- Menu -> Remote -> Connect to localhost service
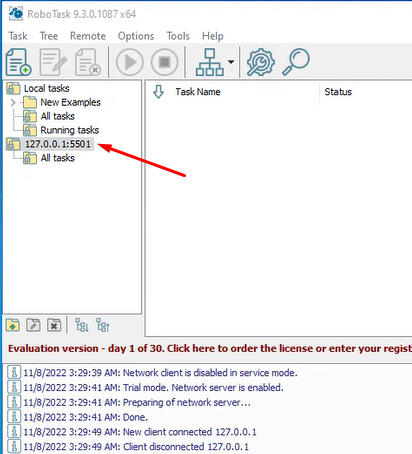
- Select the remote connection
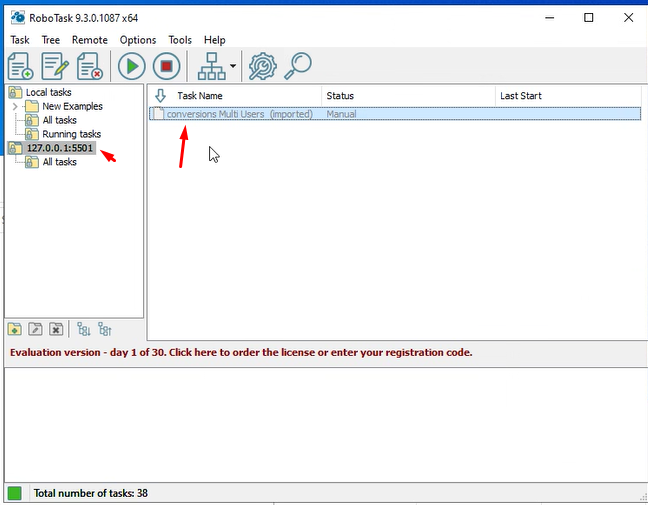
- Menu -> Task -> Import
- Select C:\REQTEAM\ReqEditInterop\conversions_multi_users.tsk from the Webapp content directory
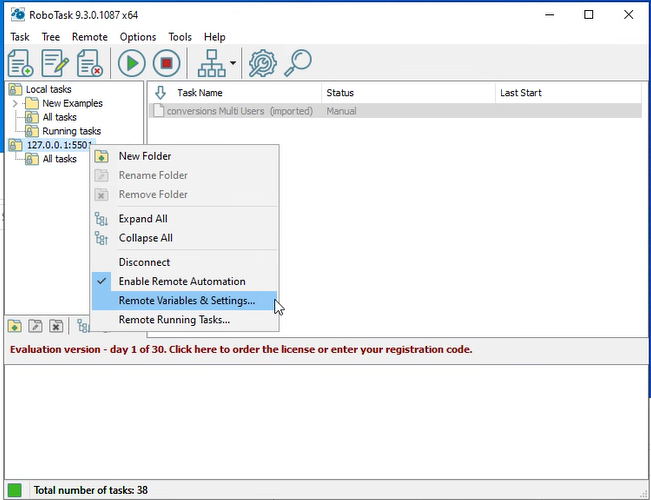
Import global variables
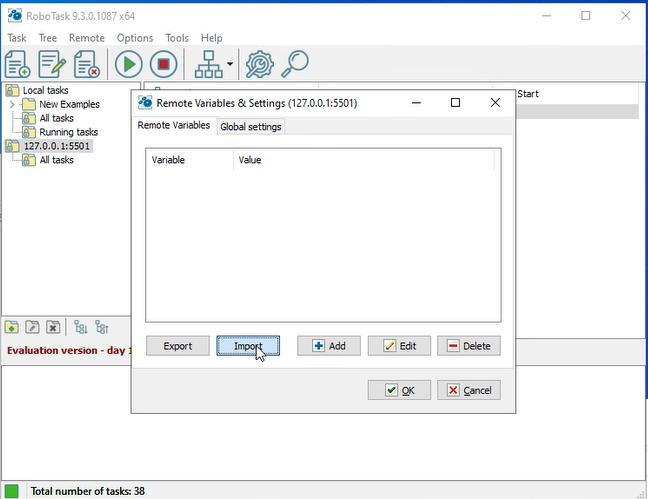
- Remote instance -> right click > remote Variables and settings
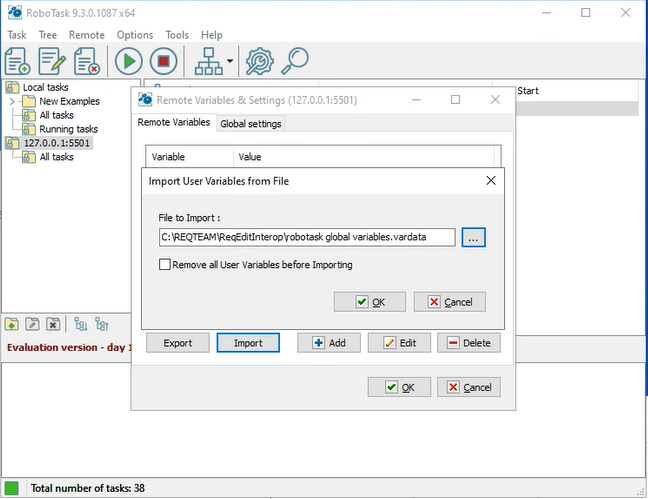
- Remote Variables > Import C:\REQTEAM\ReqEditInterop\robotask-global-variables.vardata
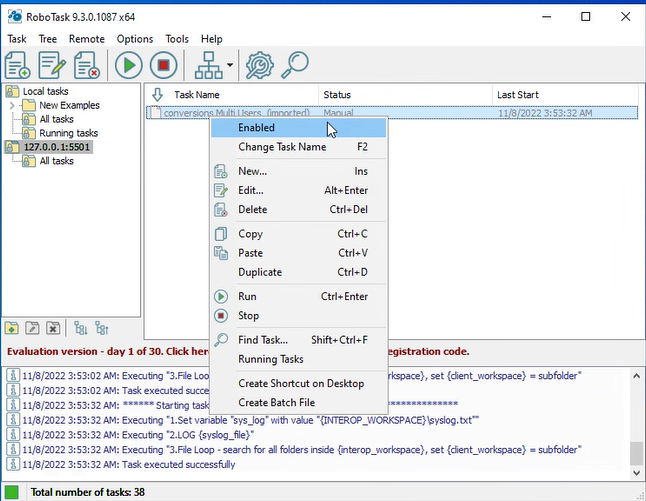
- Enable task Convesions Multi Users by right click and Enable Task
Test if Robotask is running
- In the ..\Files\ folder create tester folder
- create Conversions folder
- create _conversion[to reqif] folder
- Copy a .doc file into the folder
- Rename the folder to conversion[to reqif]
- by removing the starting _ (underline) Robotask will process the conversion
- Refresh the folder contents to see if in the results folder the .reqif file has been created or any other file is present
- Each 30 seconds the Conversions folder is processed until there are no more new files to convert
Test if website can be opened
Open the configured hostname. The Interop landing page should be visible.
The ReqEdit Interop user guide offers a more in depth look at the available capabilities.